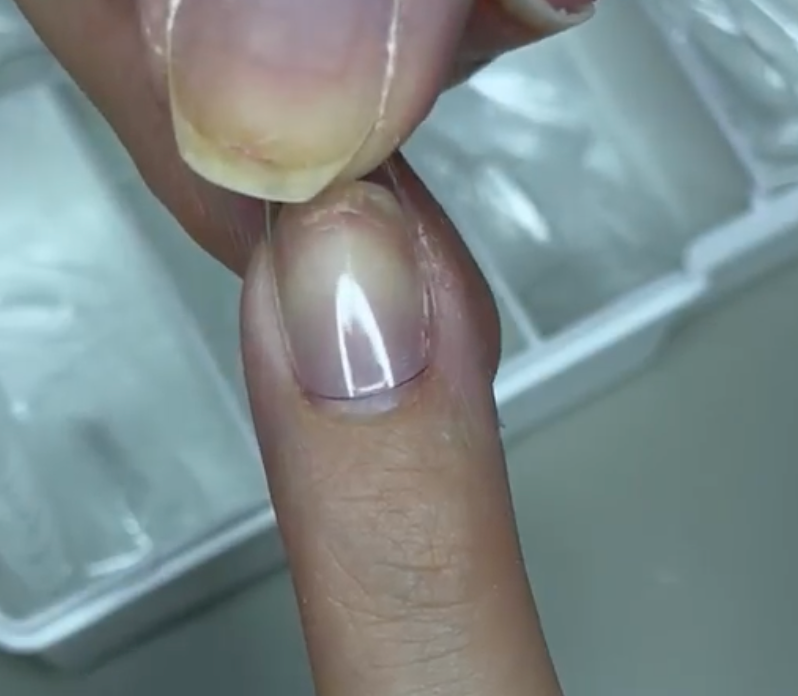
1. prep the natural nail
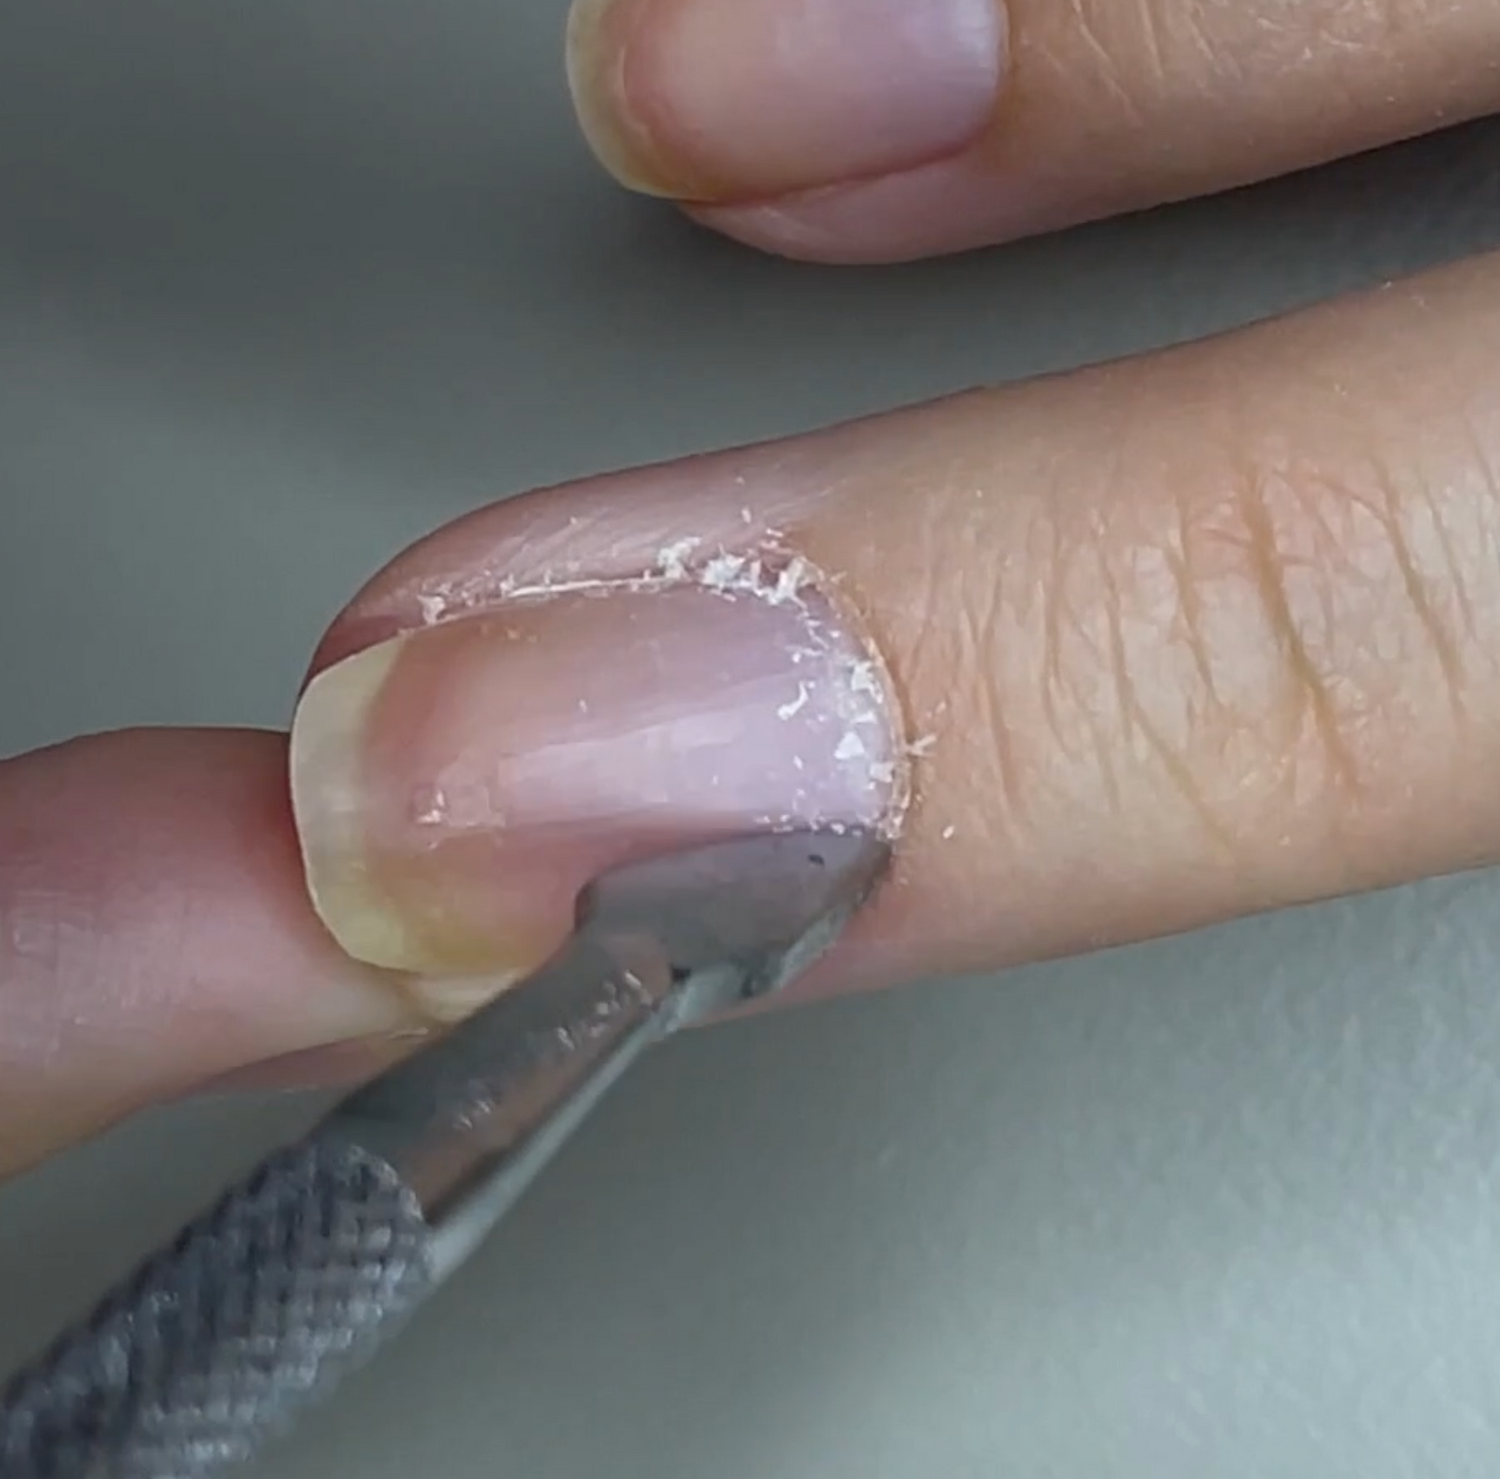
start by pushing back your cuticles and using the metal scraper, clean off the dead skin that is stuck to your natural nails. this creates a clean surface for products to adhere on and avoid lifting in the following weeks.
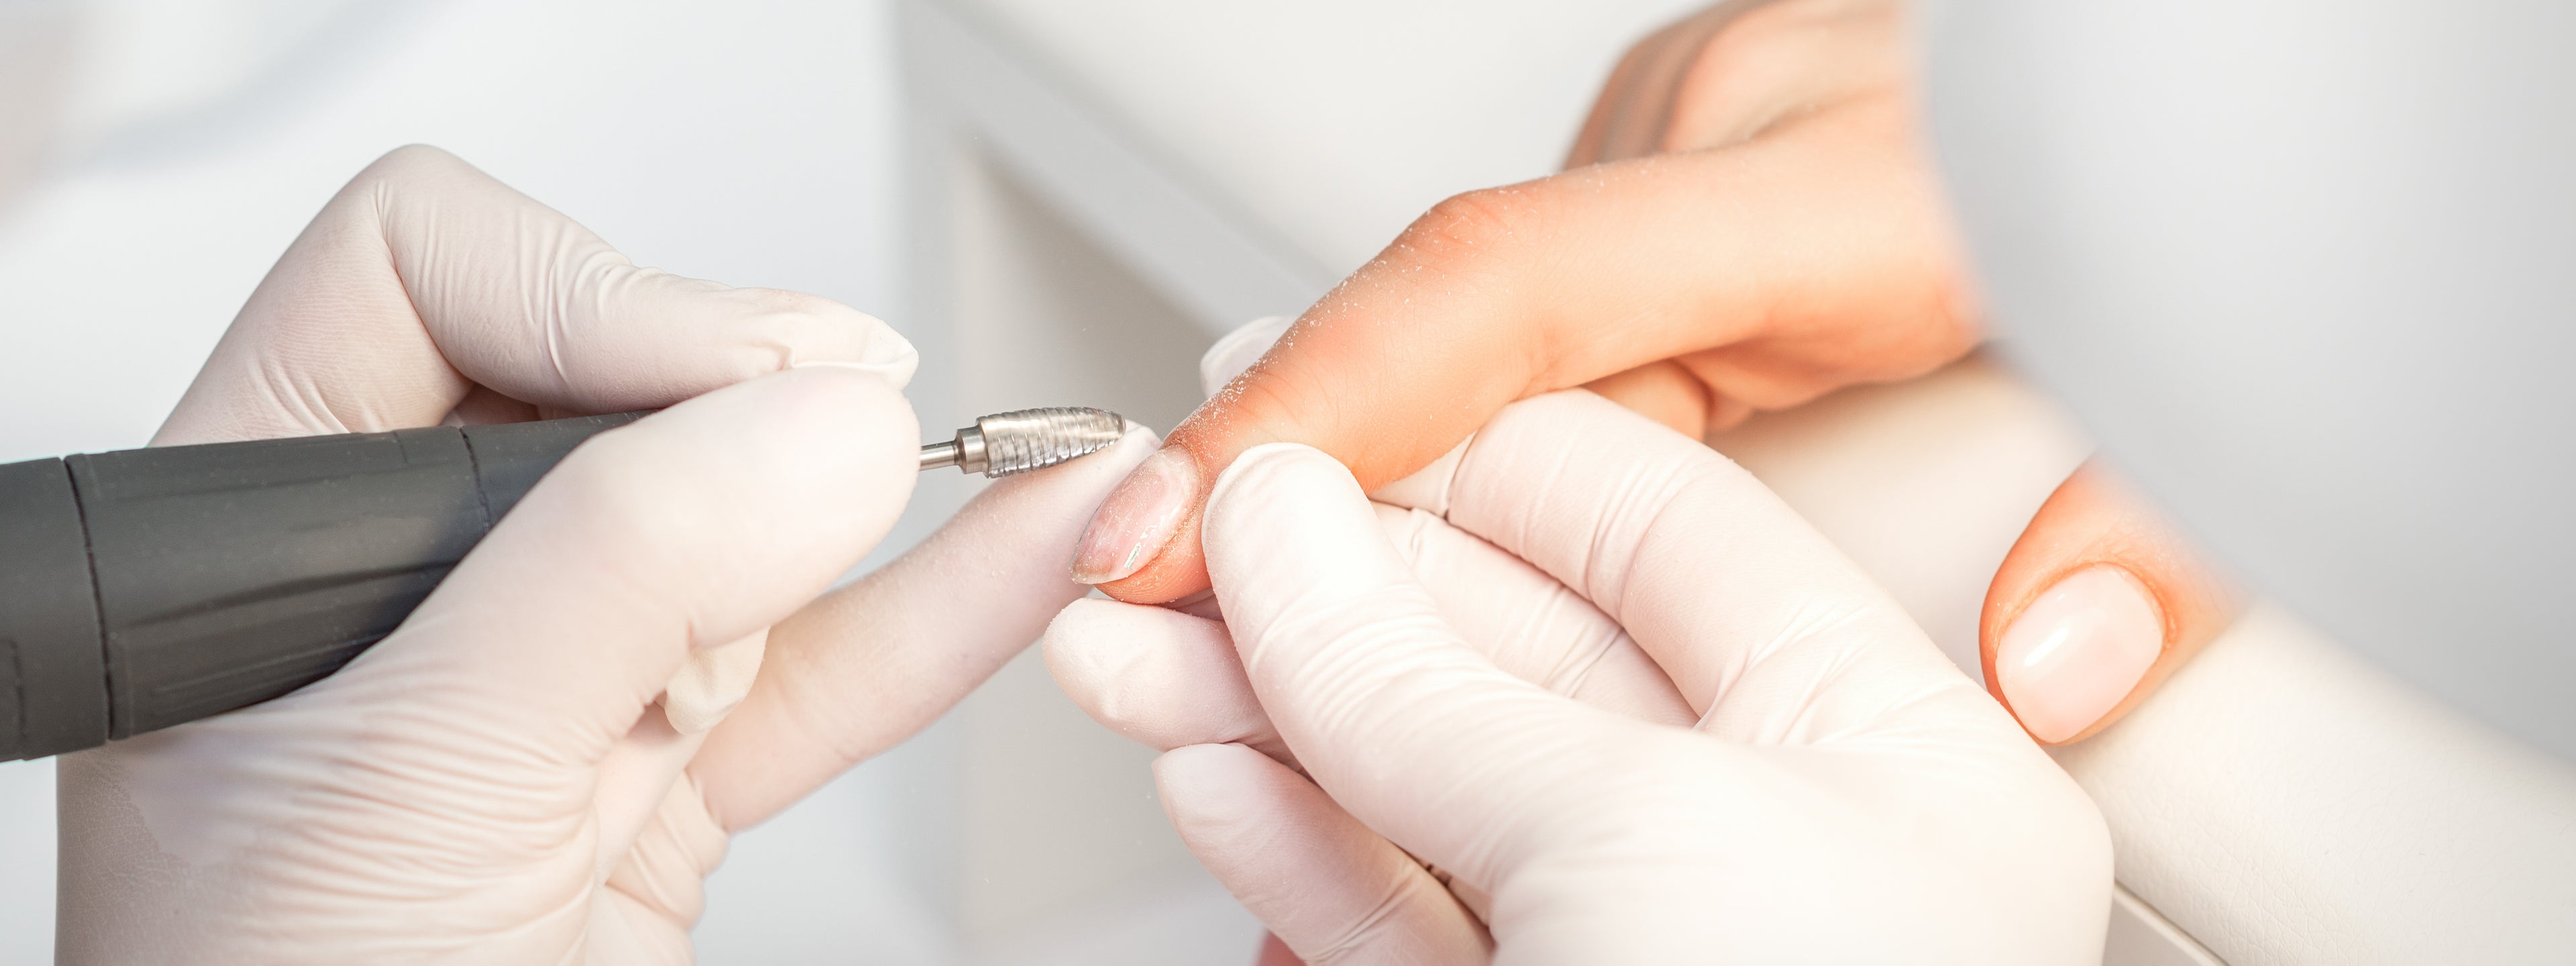
buff the surface of your natural nail with the 240 grit side of your nail file, or an appropriate e-file grit, or with a buffing block. make you don't buff too harsh or for too long, we do not want your nails to weaken.
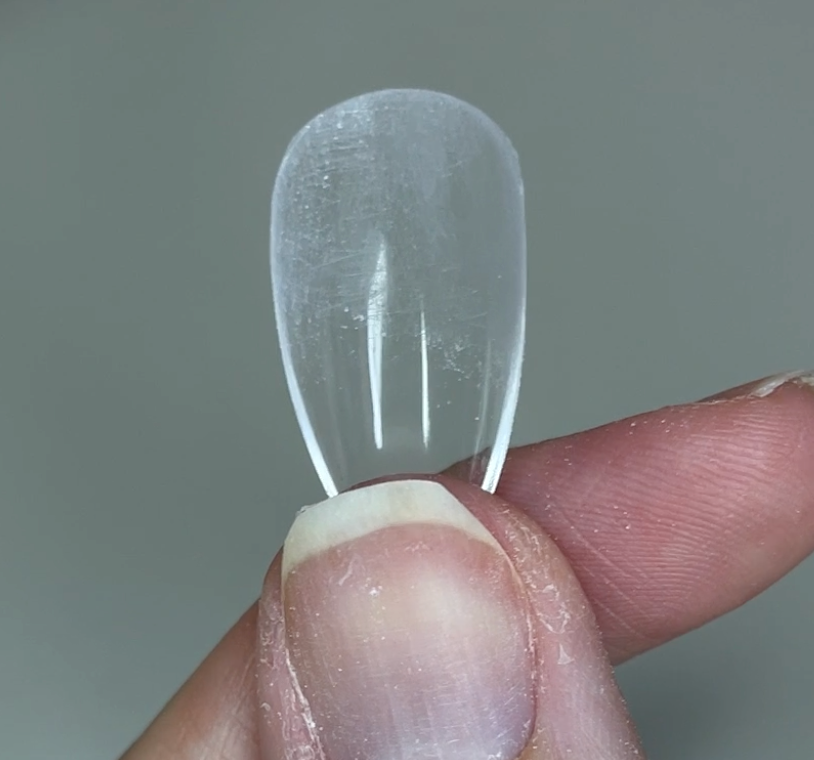
2. pick the right size for your tips
size might not matter, but this time bigger is better. make sure the tips fit sidewall to sidewall.
if the edges of your nails are exposed, it means the tip is too small for you. this will cause gel to leak out and flood your skin (which is kinda bad).
next step is to file down the cuticle area of the tips to match your natural, pushed back shape. use a regular nail file for precision.
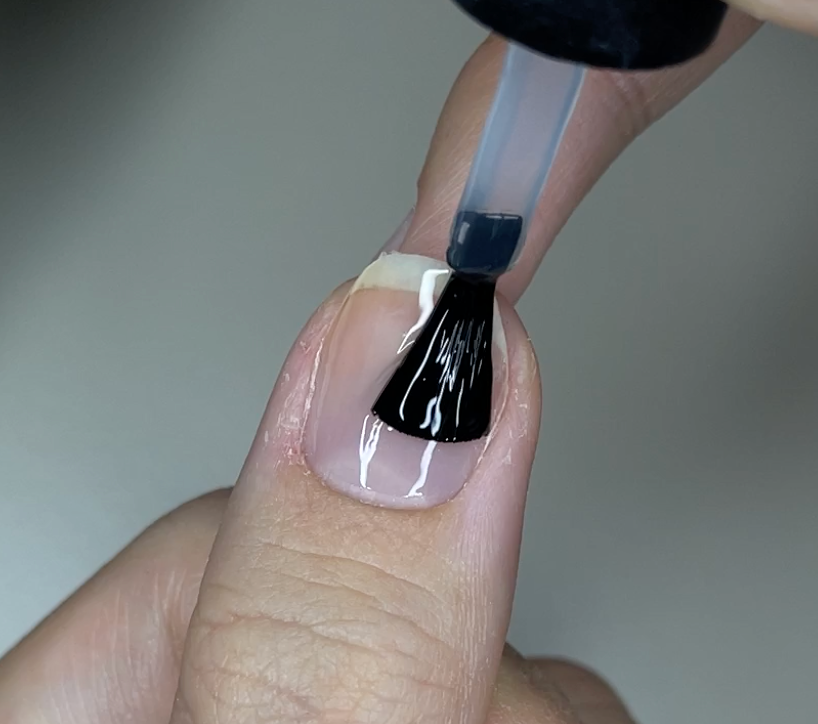
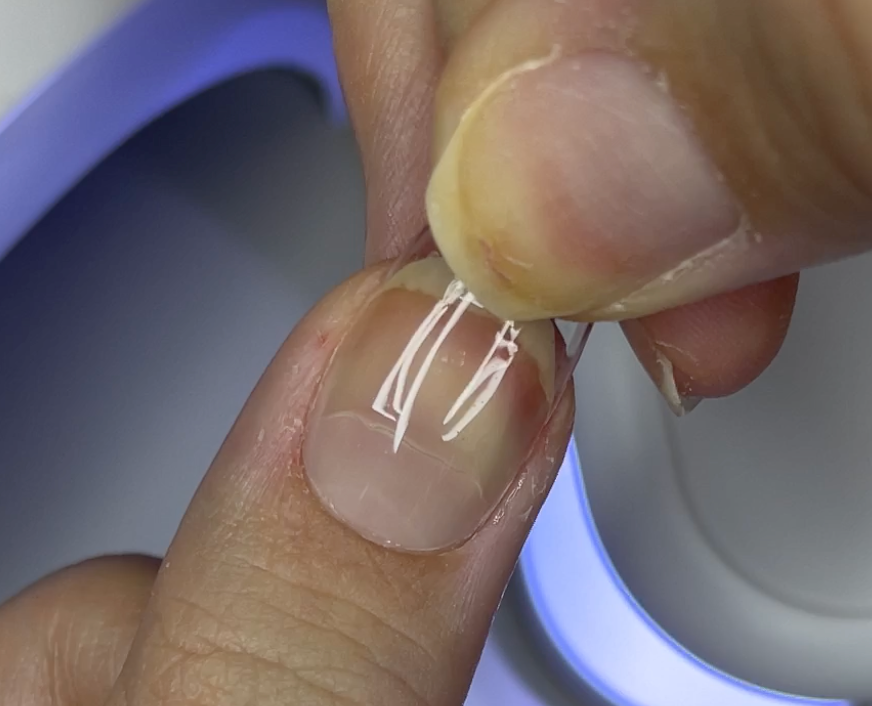
3. etch the inside of your nail tips
it's the little things that help your gel tips to stay strong and attached for 2+ weeks.
etching creates more texture and grit that the gel is going to adhere to.
you can etch the inside using a nail primer, a buffing block, a nail file, or an e-file.
4. applying the base coat
apply a dehydrator and a nail primer, wait 30 seconds after each to allow them to fully work.
make sure all dust particles are removed and there is no lint on your nails left.
apply a thin layer of gel glue and cure under a UV LED lamp for 60 seconds.
ONLY APPLY TO ONE HAND AT A TIME.
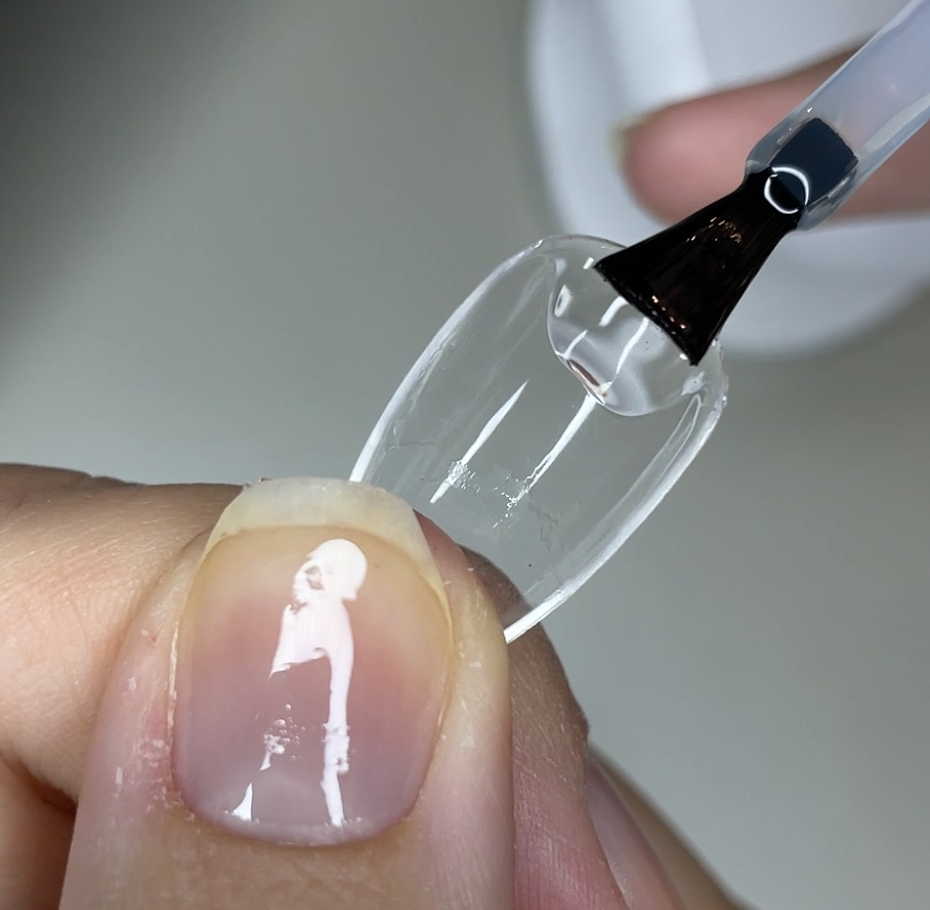
5. apply glue to nail tip
brush a thin layer on the inside part, where you etched your tip, about as much as your natural nail bed would be.
afterwards, create a blob of gel by scraping the brush against the edge of the nail tip.
this is a lot of trial and error, but you can always take some off or add more if needed.
6. place the tip on your nail
do not press too hard on your nail, so make sure you apply enough gel glue to the underside of the nail for it to not create soreness on your nail beds.
place the nail tip and flash cure under our mini UV LED lamp.
it is crucial to clean off the gel left on your skin immediately before curing, using the little flat brush and acetone.
always final cure in a big UV LED lamp.